Doxyme Account
It seems you’re referring to “Doxyme” as a specific platform or service, but there might be a misunderstanding as “Doxyme” isn’t a recognized term in the context of telemedicine or healthcare services. However, if you’re looking to create an account for a telemedicine platform or service, you would typically follow these general steps:
- Visit the Website: Go to the official website of the telemedicine platform you wish to use.
- Sign Up: Look for a “Sign Up” or “Create Account” option on the website’s homepage or in the menu. Click on it to begin the account creation process.
- Provide Information: Fill out the registration form with your personal details, such as your name, email address, phone number, and any other required information.
- Choose a Username and Password: Select a username and password for your account. Make sure to choose a strong password to secure your account.
- Verify Your Email (if required): Some platforms may require you to verify your email address by clicking on a verification link sent to your email inbox.
- Complete Registration: Once you’ve filled out the registration form and verified your email (if required), you should receive confirmation that your account has been successfully created.
- Log In: Use the username and password you selected during the registration process to log in to your account.
- Set Up Your Profile (if necessary): Depending on the platform, you may need to complete your profile by providing additional information, such as your medical history or insurance details.
- Explore the Platform: Once logged in, you can explore the platform’s features, schedule appointments, and connect with healthcare providers as needed.
If you’re referring to a specific platform or service named “Doxyme” and need assistance with account creation, please provide more details, and I’ll do my best to assist you further.
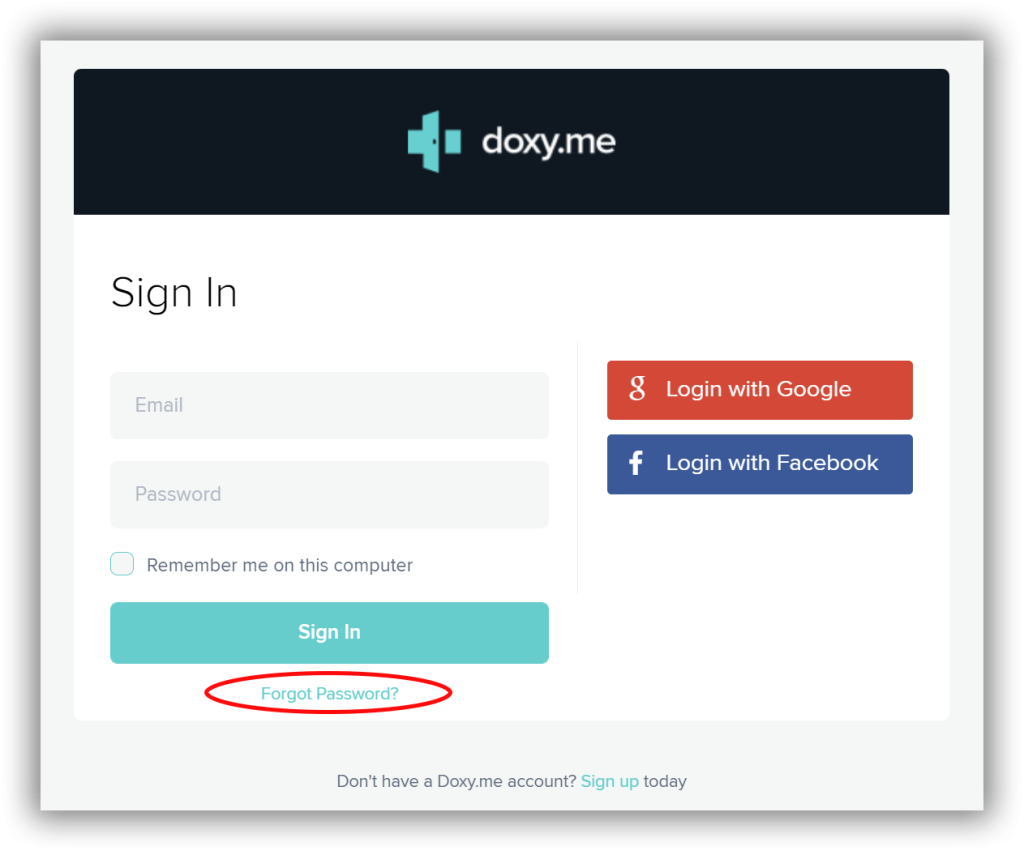
For patients, registration on doxy.me isn’t necessary. Your healthcare provider will directly send you a link to their virtual room for your appointment.
However, if you’re a healthcare provider, getting started with a doxy.me account is a breeze.
Here’s how to sign up:
- Visit Sign up as a provider or go to https://doxy.me/sign-up.
- Fill in your details, including your email address and a chosen password.
- Select a unique name for your personal doxy.me room.
- Complete the signup process.
Once you’ve signed up, you have the flexibility to upgrade your account to Professional, Clinic, or Enterprise level at any point.
Doxy Me Account Dashboard
If you’re referring to the dashboard of a Doxy.me account, it typically serves as a central hub where healthcare providers can manage their telemedicine appointments, communicate with patients, and access various features and settings. Here’s what you might find on a Doxy.me account dashboard:
- Appointment Management: View upcoming appointments, schedule new appointments, and manage appointment details such as date, time, and patient information.
- Patient Waiting Room: Monitor patients waiting for their appointments to begin. Providers can admit patients to the virtual waiting room and start consultations as scheduled.
- Call History: Access a log of past video calls and consultations, including details such as date, time, duration, and patient name.
- Settings and Preferences: Customize account settings, preferences, and notification preferences to suit your workflow and communication needs.
- Patient Messaging: Communicate securely with patients via text-based messaging, share resources, and provide follow-up instructions.
- Document Sharing: Share documents, images, or other files securely with patients during consultations.
- Profile Management: Update personal and professional information, upload a profile picture, and manage account details.
- Help and Support: Access resources, tutorials, and support options for assistance with using the Doxy.me platform effectively.
The specific features and layout of the dashboard may vary depending on updates to the Doxy.me platform and any customization options offered by individual healthcare providers or organizations. If you have a Doxy.me account, you can log in to your account to explore the dashboard and its features in more detail.
Doxy.me Account Settings
The account settings in a Doxy.me account allow users, typically healthcare providers, to customize various aspects of their telemedicine experience. Here are some common settings you might find in a Doxy.me account:
- Profile Information: Update personal and professional details such as name, title, contact information, and profile picture.
- Appointment Preferences: Configure settings related to appointment scheduling, including appointment duration, buffer times between appointments, and availability hours.
- Virtual Waiting Room: Customize the waiting room experience for patients, including the waiting room background, waiting room message, and waiting room name.
- Security and Privacy: Manage security settings such as two-factor authentication, session timeout duration, and permissions for sharing patient data.
- Call Settings: Adjust audio and video settings for telemedicine calls, including camera and microphone preferences, video quality settings, and default call behavior.
- Notification Preferences: Customize notification settings for appointment reminders, patient messages, and other account-related notifications.
- Language and Accessibility: Choose preferred language settings and adjust accessibility features such as font size and color contrast.
- Billing and Payments: Access billing and payment settings for premium features or subscription plans, if applicable.
- Integration Settings: Connect Doxy.me with other platforms or services through integration settings, such as electronic health record (EHR) systems or practice management software.
- Help and Support: Access resources, tutorials, and support options for assistance with using Doxy.me effectively.
These settings may vary depending on the version of the Doxy.me platform and any customization options offered by individual healthcare providers or organizations. Users can typically access and modify their account settings by logging in to their Doxy.me account and navigating to the settings or account management section of the platform.
Set up Doxy.me Account
To set up a Doxy.me account, follow these steps:
- Visit the Doxy.me Website: Go to the official website of Doxy.me using your web browser.
- Sign Up: Look for a “Sign Up” or “Create Account” option on the homepage. Click on it to begin the account creation process.
- Provide Information: Fill out the registration form with your personal details, including your name, email address, and a password. Make sure to choose a strong password to secure your account.
- Verify Your Email (if required): Some platforms may require you to verify your email address by clicking on a verification link sent to your email inbox.
- Choose Your Plan (if applicable): Depending on the version of Doxy.me you’re signing up for, you may need to choose a plan or subscription option. Some versions offer a free basic plan, while others may offer premium features for a subscription fee.
- Complete Registration: Once you’ve filled out the registration form and verified your email (if required), you should receive confirmation that your account has been successfully created.
- Log In: Use the username (typically your email address) and password you selected during the registration process to log in to your Doxy.me account.
- Set Up Your Profile: Complete your profile by providing additional information, such as your healthcare provider credentials, specialty, and practice details. You may also upload a profile picture.
- Configure Account Settings: Customize your account settings according to your preferences, such as appointment scheduling options, virtual waiting room settings, and notification preferences.
- Explore the Platform: Once logged in, take some time to explore the features and functionality of the Doxy.me platform. Familiarize yourself with how to schedule appointments, conduct telemedicine calls, and communicate with patients.
By following these steps, you can successfully set up a Doxy.me account and start using the platform for telemedicine appointments and communication with patients. If you encounter any difficulties during the account setup process, refer to the Doxy.me website’s help resources or contact their support team for assistance.
Cancel Doxy.me Account
To cancel your Doxy.me account, you’ll typically need to follow these steps:
- Log In: Visit the Doxy.me website and log in to your account using your username (email address) and password.
- Access Account Settings: Once logged in, navigate to the account settings or profile section of your Doxy.me account. This may be found in the dropdown menu or settings menu, typically located in the top right corner of the screen.
- Find Cancellation Option: Look for an option to cancel or deactivate your account. This may be labeled as “Account Settings,” “Subscription,” or “Billing.”
- Follow Cancellation Process: Click on the cancellation option and follow the prompts to proceed with canceling your account. You may be asked to confirm your decision and provide a reason for canceling.
- Complete Cancellation: Once you’ve confirmed the cancellation, your Doxy.me account should be deactivated, and any associated subscription or billing details should be terminated. You may receive a confirmation email indicating that your account has been successfully canceled.
If you’re unable to find the option to cancel your account or encounter any difficulties during the cancellation process, it’s recommended to reach out to Doxy.me customer support for assistance. They can provide guidance and help ensure that your account is successfully canceled.